Make These Free Save the Dates
Psst. To download your free save the dates, just scroll down to the “Materials” section and click the “Free Save the Date Templates” link.
Few things set the tone for your wedding quite like a unique save the date. Whether it be a series of photos on a photo booth strip or a card with a mini pencil attached (you know, so you can “pencil them in”–ha!), the cleverness gets me every time.
But clever doesn’t have to mean expensive or time consuming. My favorite way to add interest and beauty to simple save the dates is by layering vellum overtop a gorgeous cardstock. Not only is it insanely easy, but you can print them on your home printer and assemble them in less than an hour. Then tie everything together with a teeny gold brad and tuck them in festive envelopes before popping them in the mail.
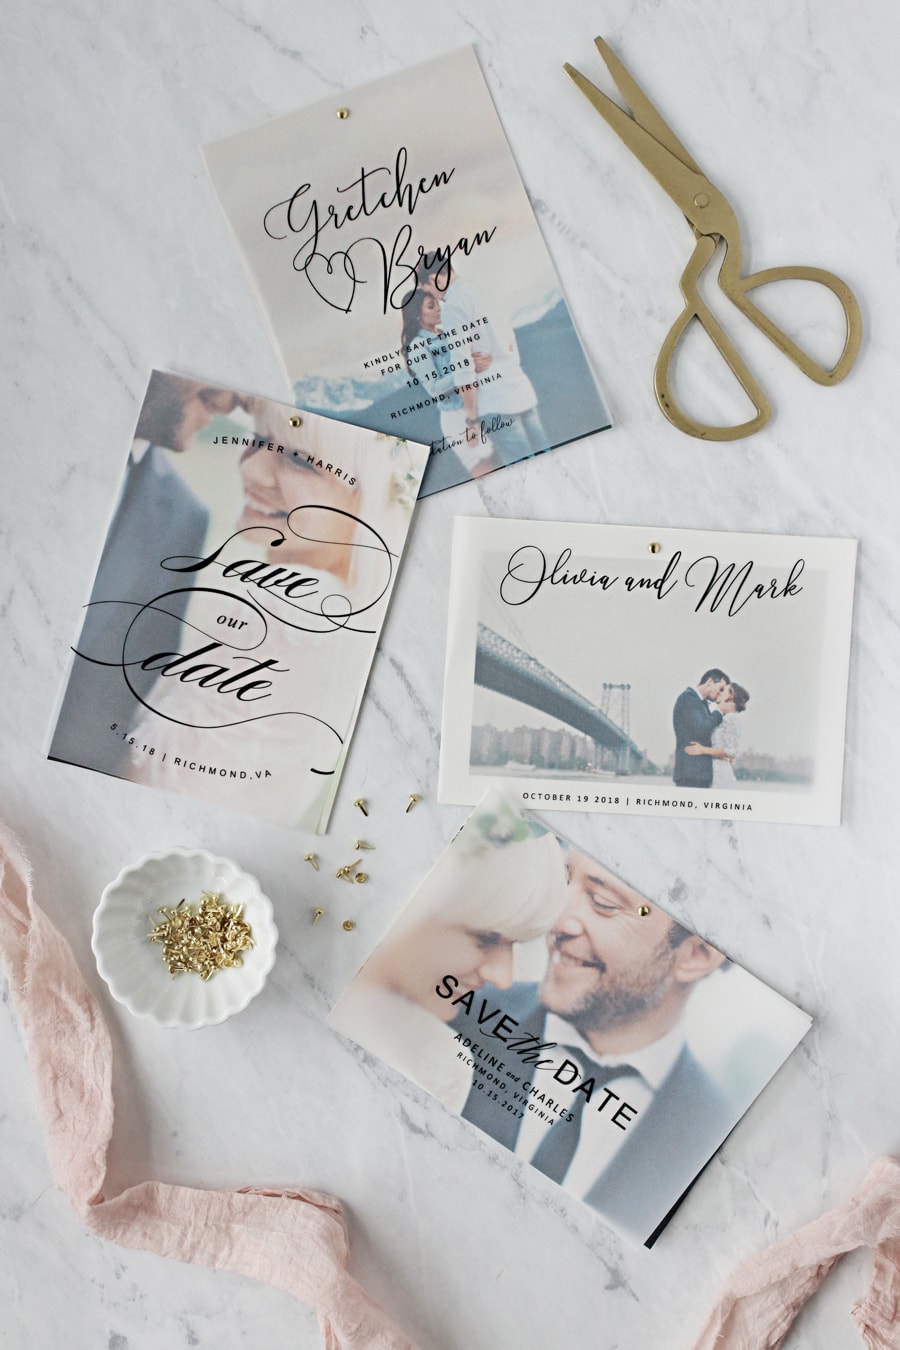
And the best part? We’re giving away the template for free. We promise, your guests will love them.
HOW TO MAKE VELLUM SAVE THE DATES
The sky is the limit when it comes to DIYing your own vellum save the dates. All you really need to get started is a template (just scroll to the supplies section of this tutorial to get ours for free!) and some high-resolution photos of you and your main squeeze. Add in your details and print. That’s it!
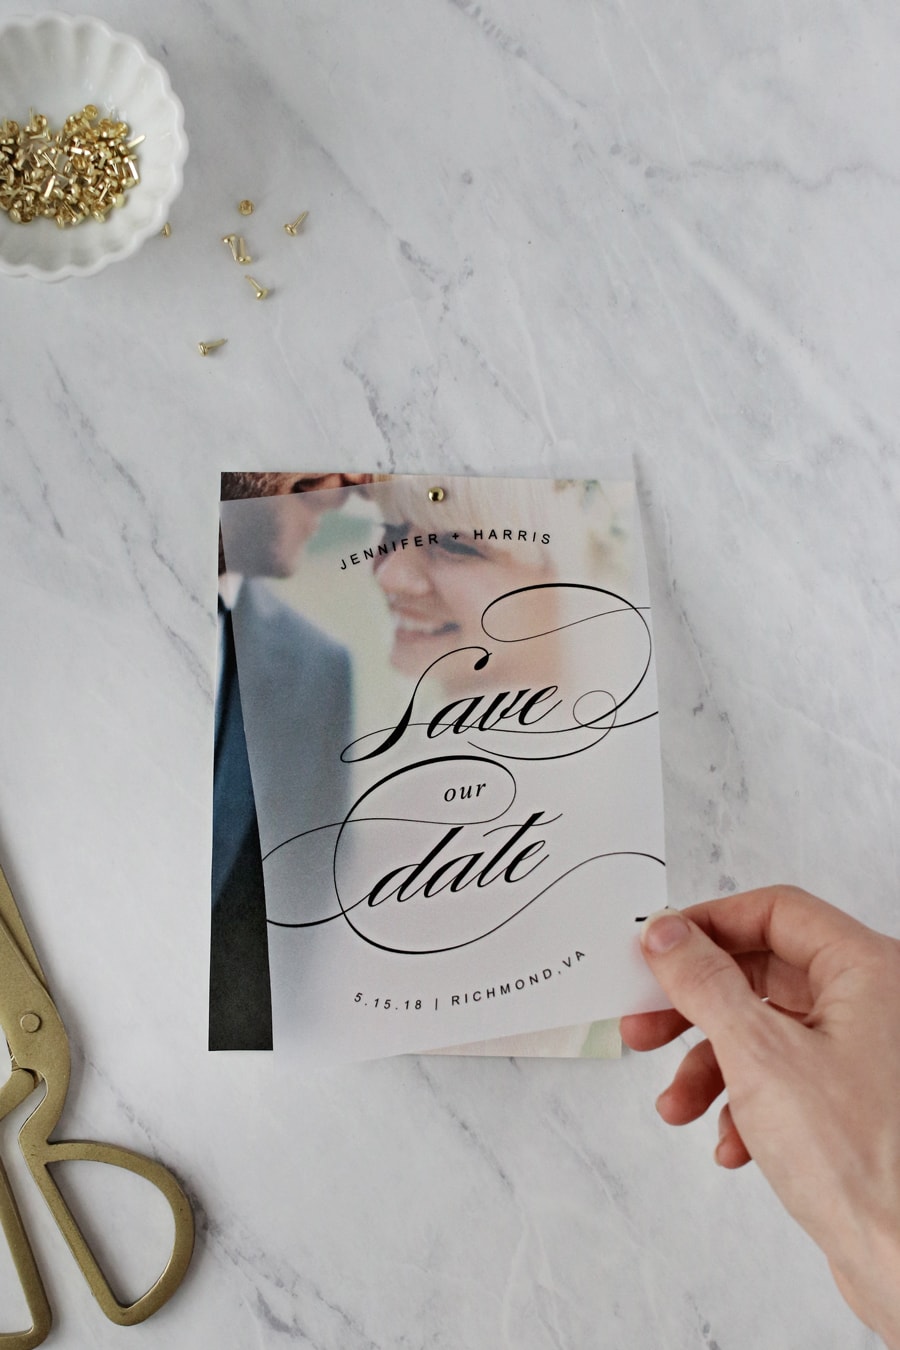
But for those of you who need a little more help, here’s the step-by-step to get you started.
Materials
Cardstock (Not sure what you want? Check out our cardstock guide)
Vellum
4mm gold brads
Paper cutter, scissors or X-acto Knife
A7 envelopes
Printer
Free Save the Date Templates (These are for use in MS Word. I can’t guarantee they’ll work in any other software.)
**These templates are for your personal use only. You may not give them away, sell them or use them in any way that violates our copyright.
Instructions
Start by downloading your free template and filling in your details. You’ll need Microsoft Word to edit the template, but if you don’t have it you can get a free trial version here.
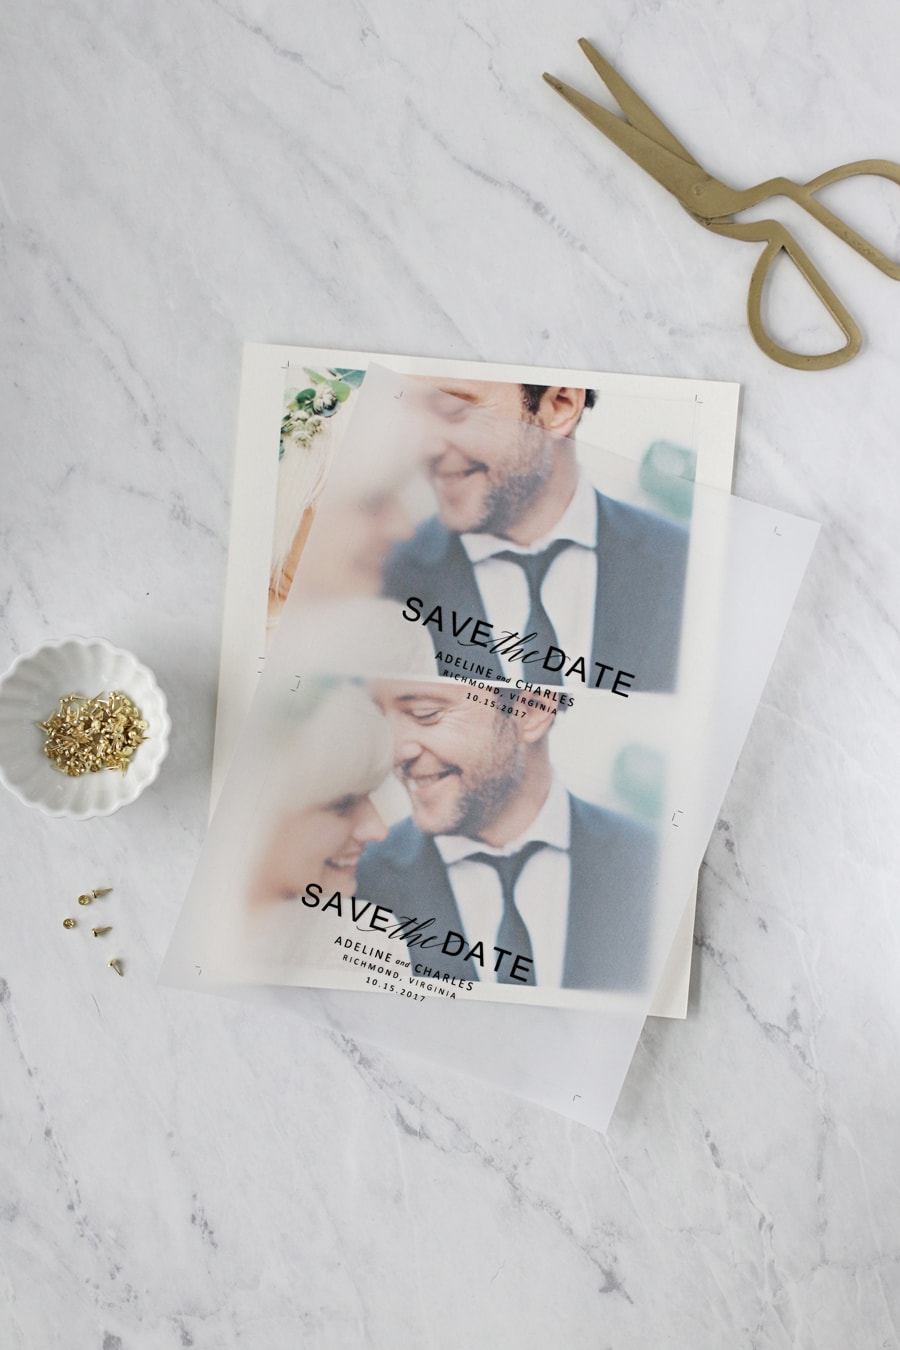
Set your printer to high/photo printing, and print your save the date details on vellum and your photos on cardstock. If you need more help printing your invitations, we’ve rolled our 5+ years of professional printing know-how into a Print Guide to make things super easy.
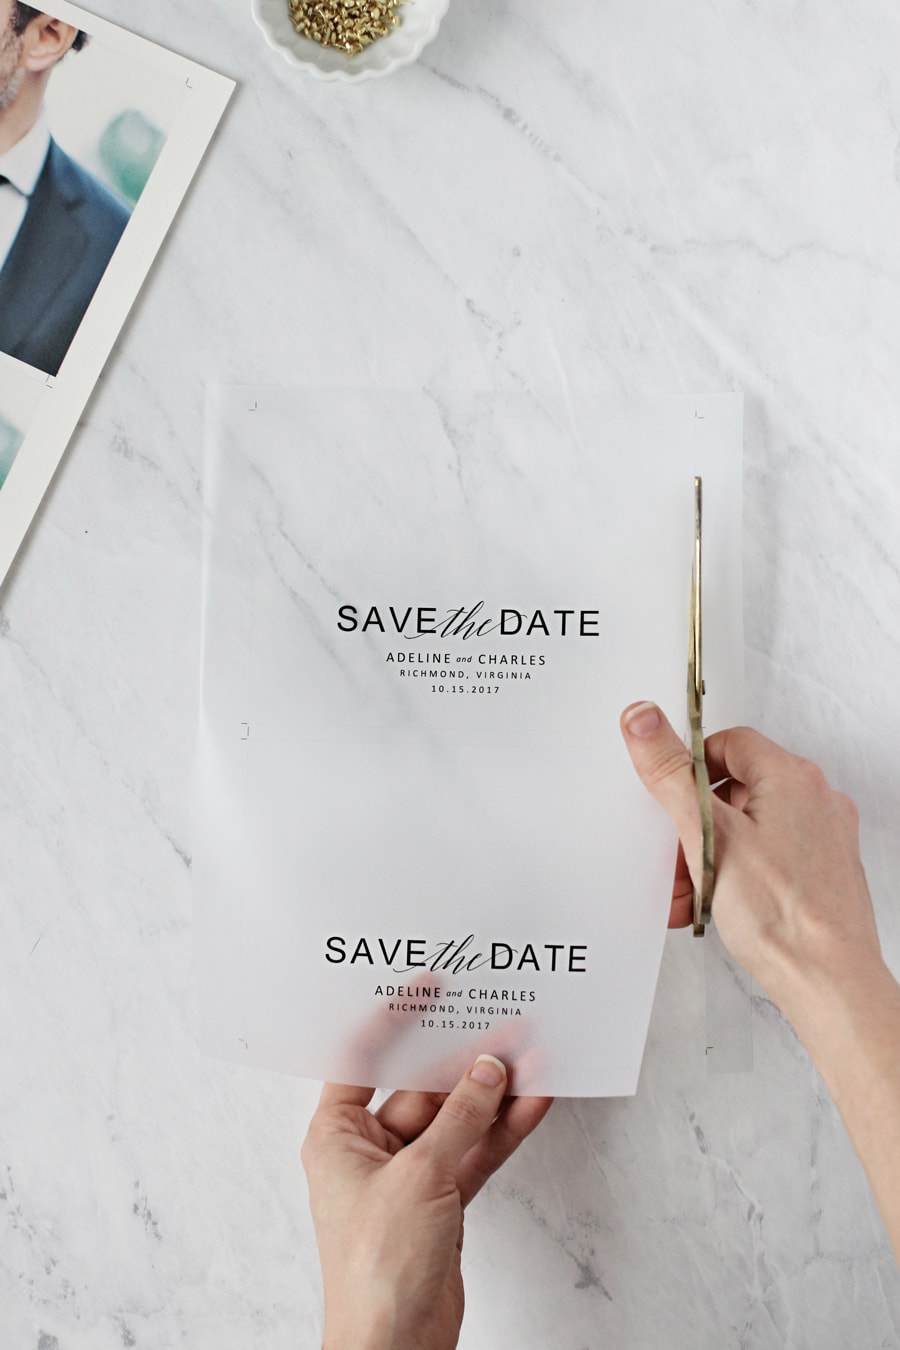
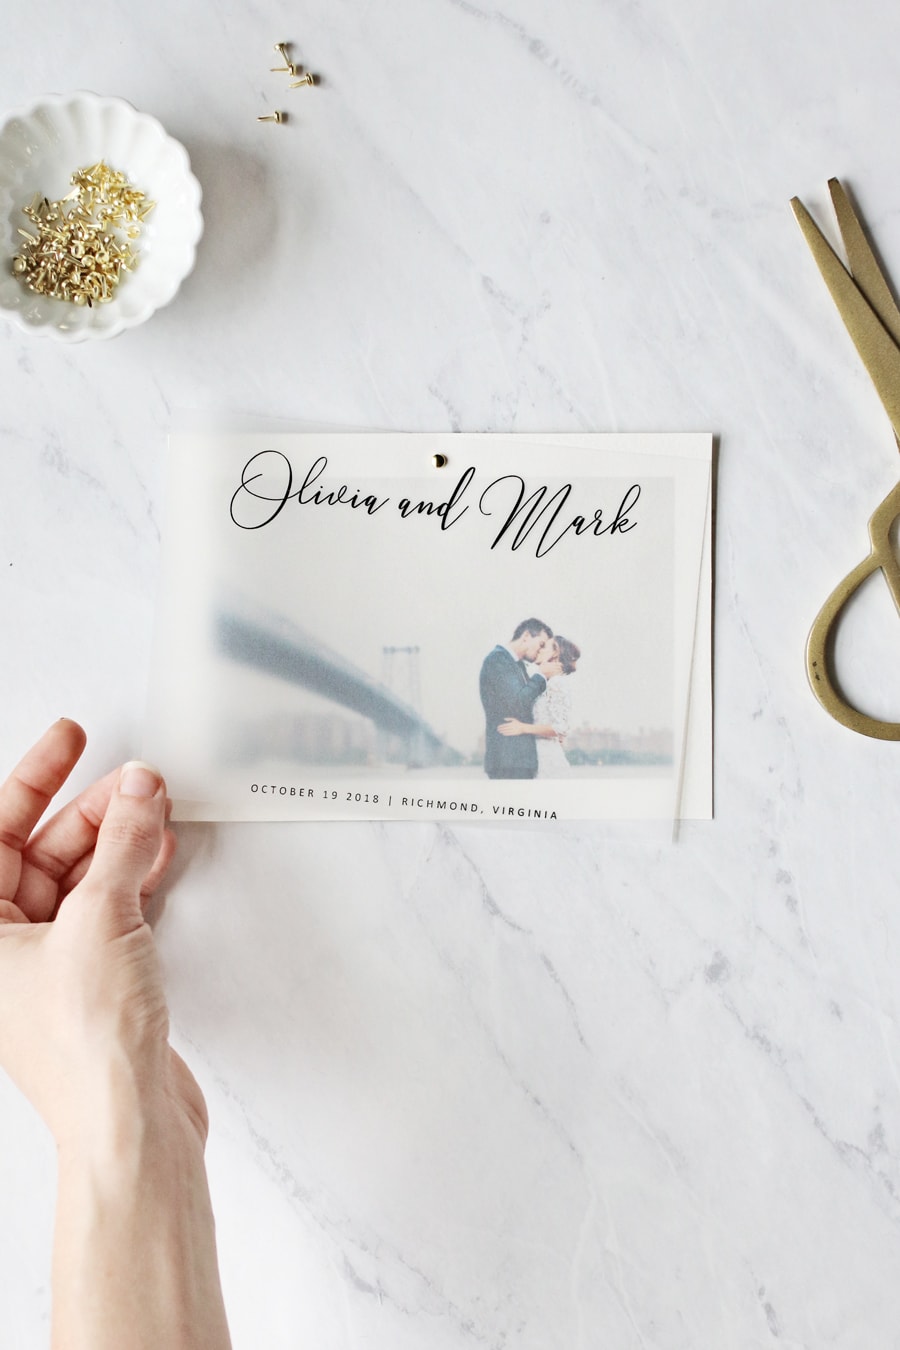
Trim your templates, then layer a sheet of vellum on top of one of your photos. Use a knife or the pointed end of the brad to make a small hole along the top center of your card. Pry apart the tabs of the brad and flatten to secure.
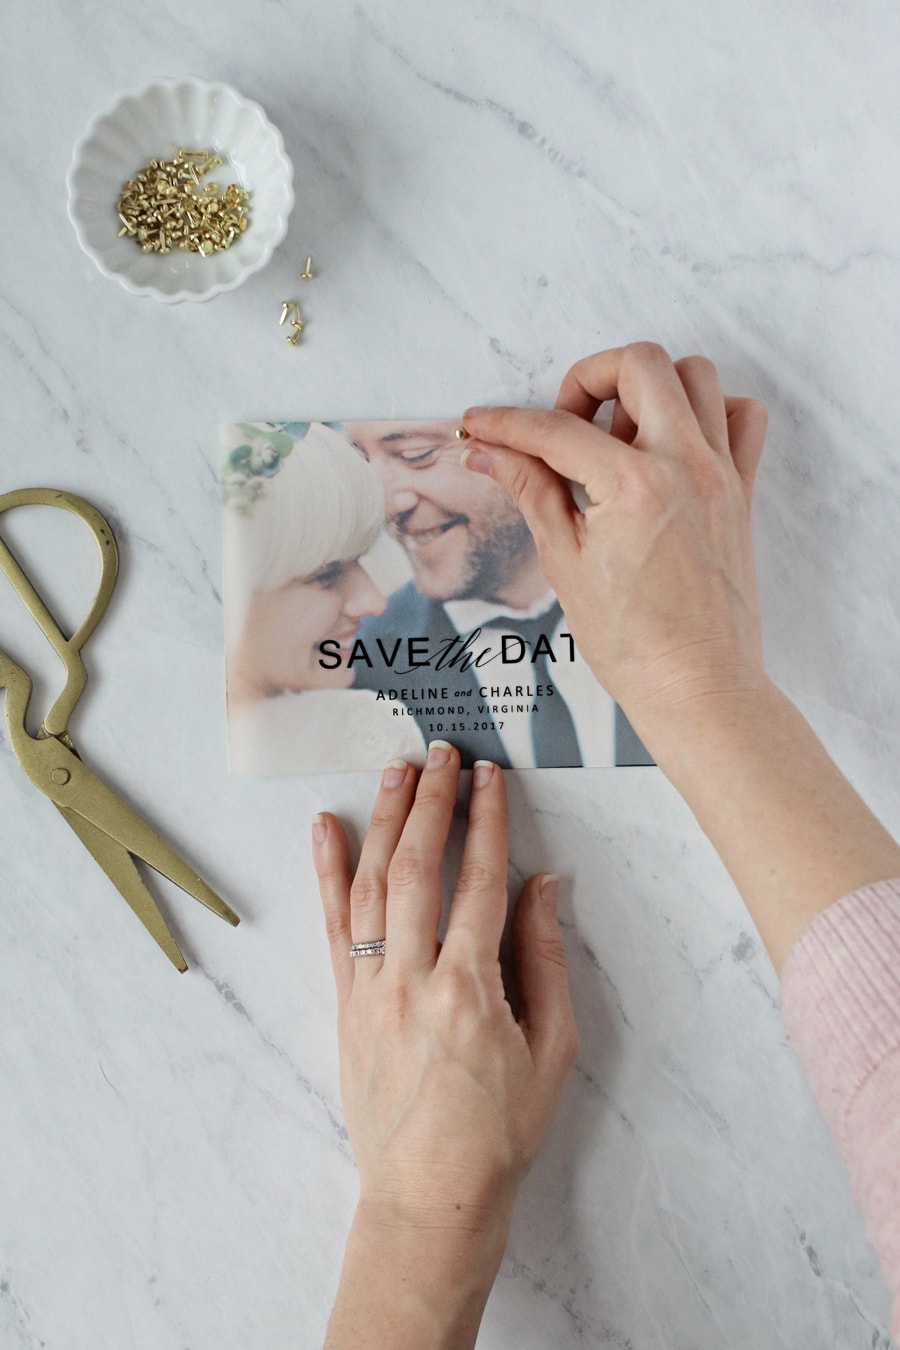
That’s it! They seriously couldn’t be easier to make. Simply pop your free save the dates in an A7 envelope and mail to your guests.
The information contained on this Website and the resources available for download through this website are for educational and informational purposes only. I am only sharing what worked for me, and as such, I cannot guarantee that any products or processes will give you the same results.



Leave a Reply
We don't like getting spam either. Your email is safe with us.