Make These Cute Save the Dates for Free!
Remember those pretty rose invitations we made a few months ago with the calligraphy and the vellum? Not only were they a huge hit around here but they’re actually some of our all-time favorite invitations. Ever ever. They were so much fun to make that I decided to do something similar with some free save the date templates that we have in the Resource Library.
If you’d like to make these lovelies then scroll to the bottom of the post and sign up to get your free templates. And don’t forget to check out our post on cardstock if you need some paper recommendations.
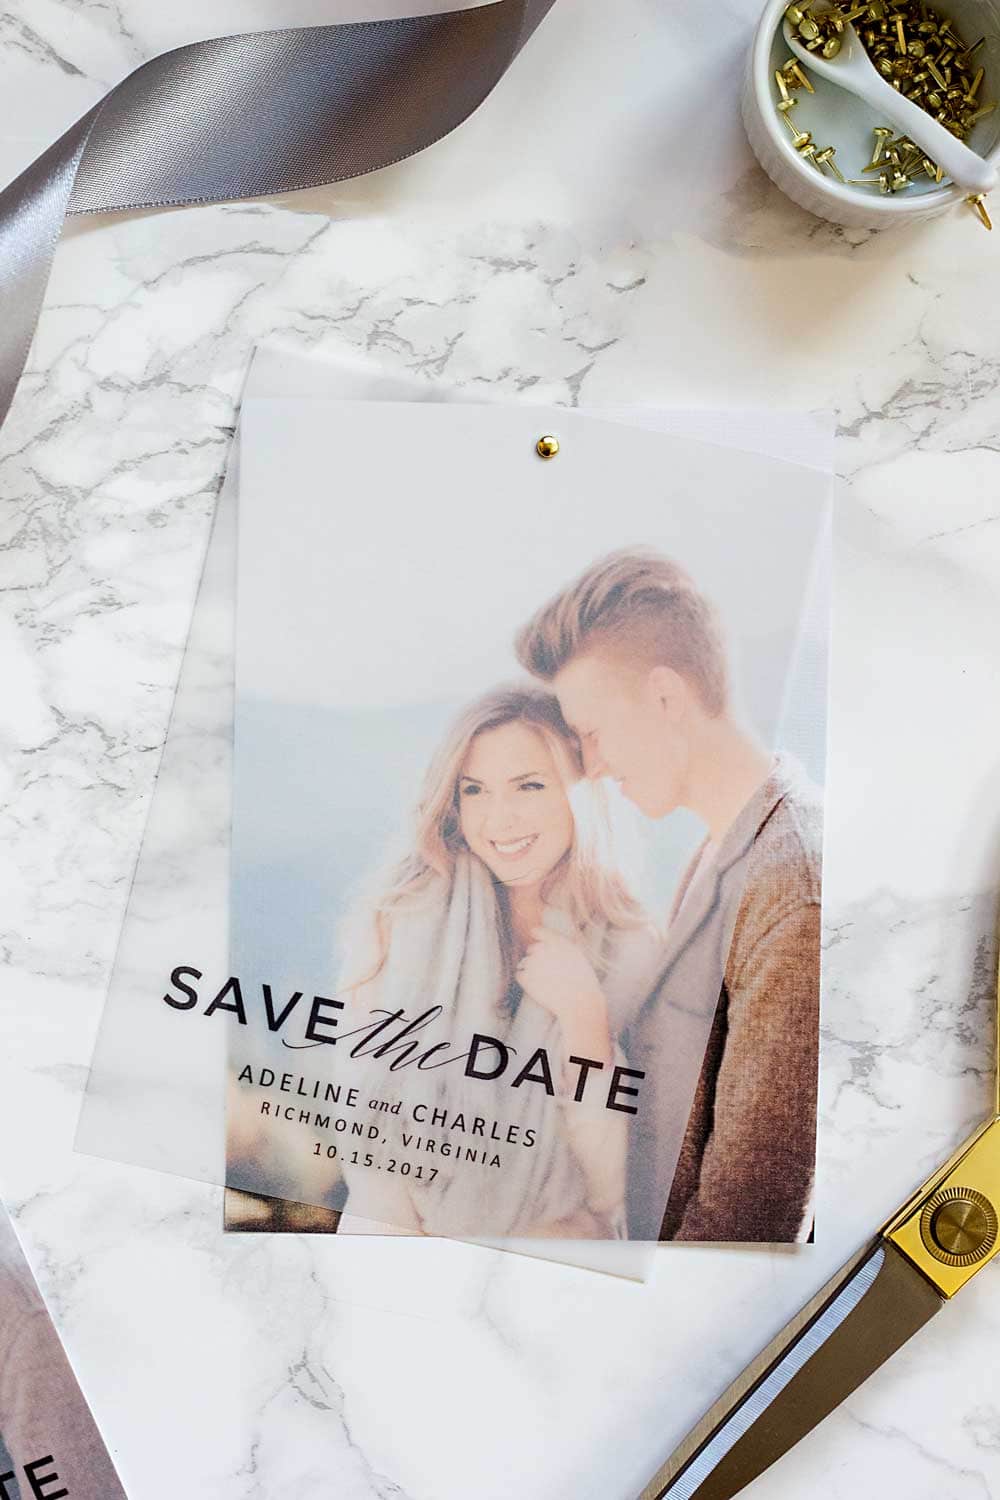
Okay, back to the save the dates.
This time, I chose a couple of gorgeous engagement photos and printed them on my favorite linen cardstock. I love a textured cardstock because it adds such a nice character to these cards, especially when layered under dainty vellum. Plus it’s perfect for printing at home because the texture hides some of the imperfections that might show up when using a desktop printer (grain or streaks don’t stand a chance).
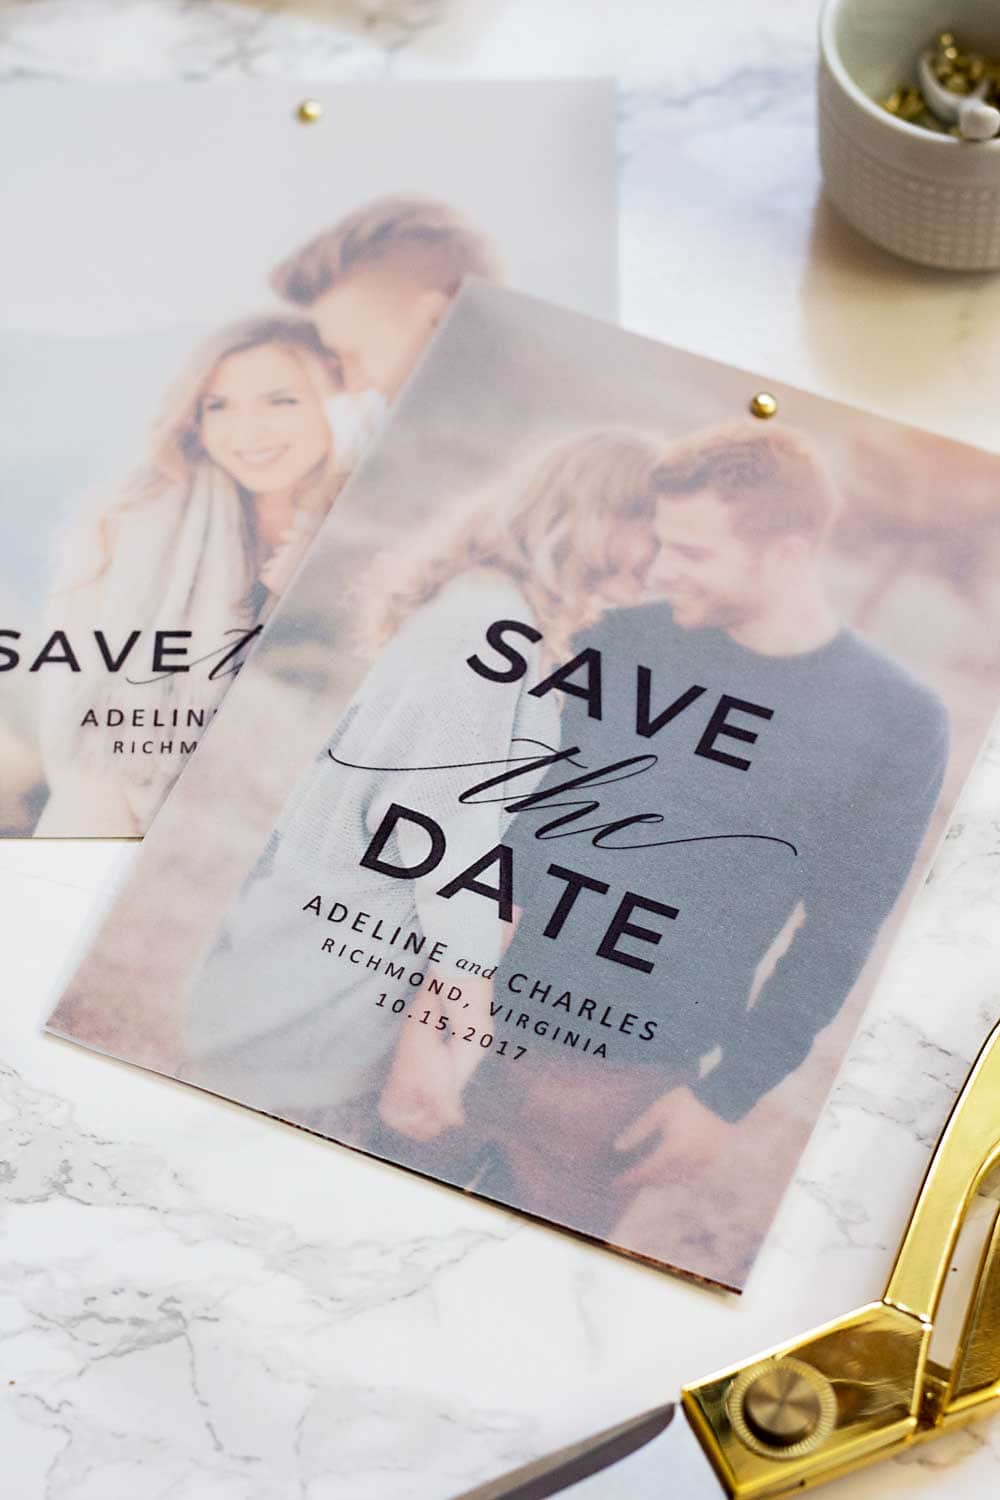
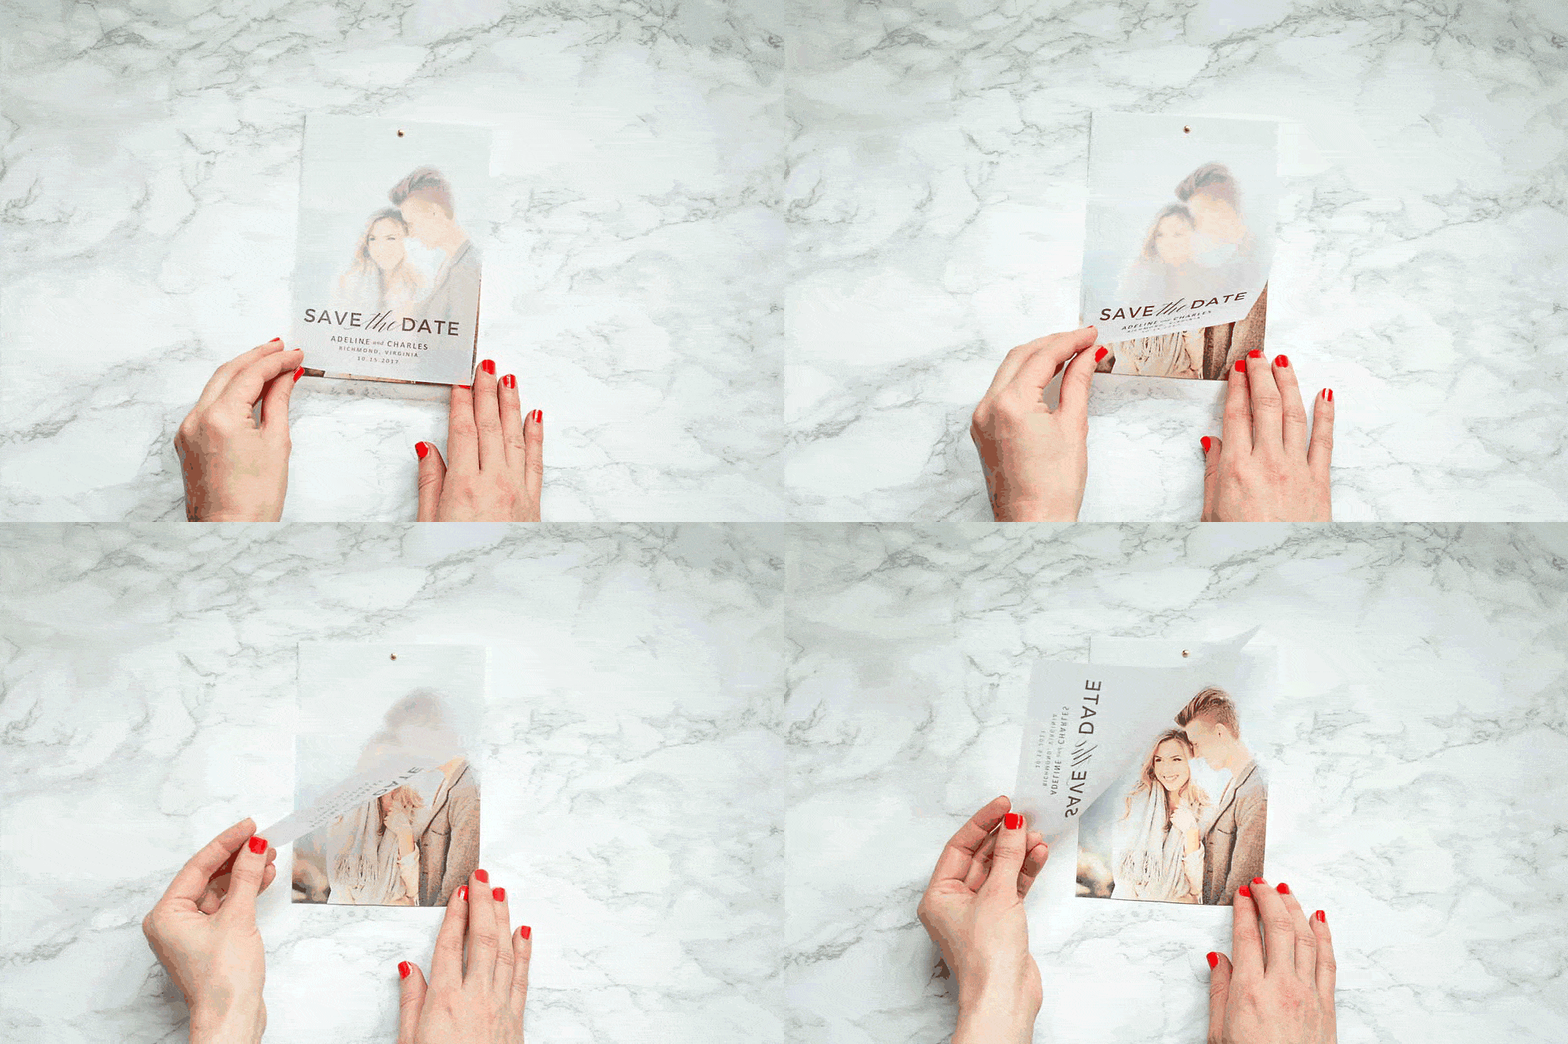
Then I printed a couple of our free save the date templates onto plain white vellum and layered it over the photos. I especially love how the photo takes on an ethereal vibe once you add the vellum. Some photo save the dates can be a little too in your face but these are beautiful and understated, putting the emphasis right where it belongs–on your big day.
And to finish it off, I added a teeny gold brad. It adds a touch of glitz without being too gaudy, which is always a good thing.
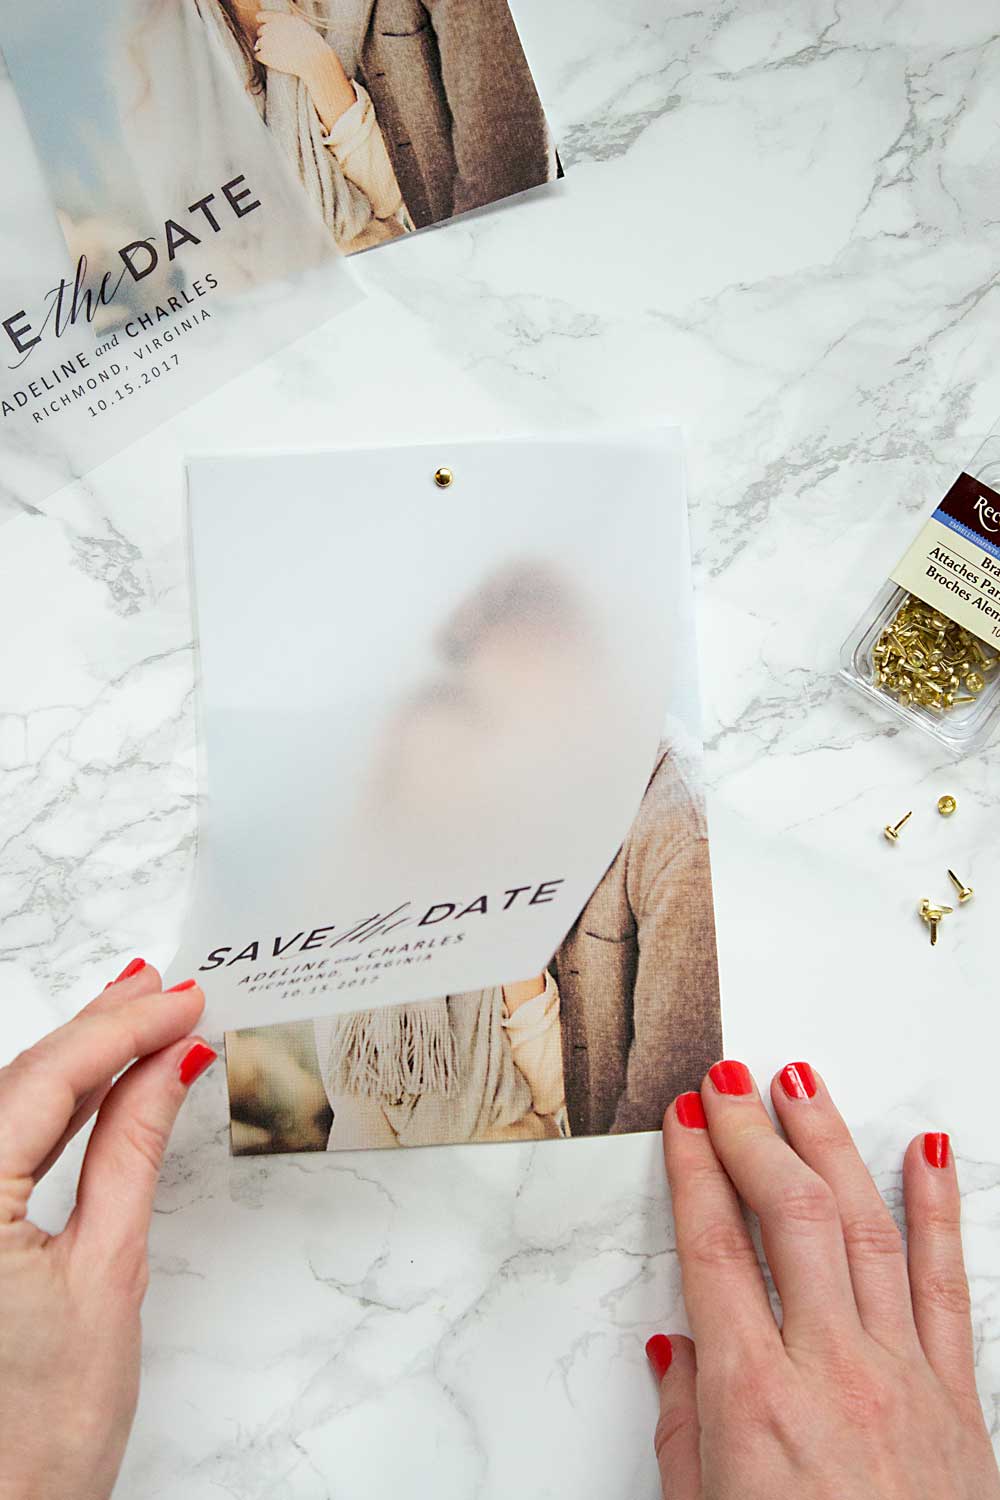
Materials
White vellum (8.5″ x 11″)
Linen (basketweave) cardstock (8.5″ x 11″)
Gold brads
Scissors
Printer (this is our favorite vellum printer)
A7 Envelopes
Free Save the Date Templates (These are for use in MS Word. I can’t guarantee they’ll work in any other software.)
**These templates are for your personal use only. You may not give them away, sell them or use them in any way that violates our copyright.
Instructions
Start by downloading your free template and filling in your details. You’ll need Microsoft Word to edit the template, but if you don’t have it you can get a free trial version here.
Set your printer to high/photo printing. Then print your photo template on standard cardstock and your save the date template on vellum. If you need more helping printing your invitations on the cheap while still making them look like a million bucks, check out our Printing Guide.
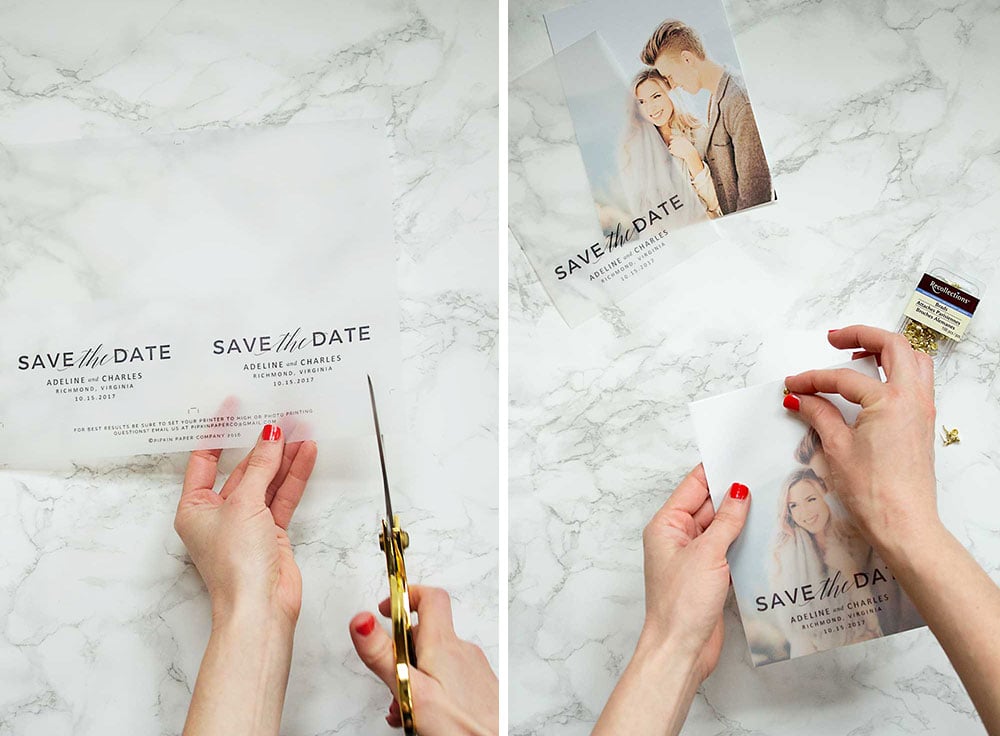
Trim your templates, then layer a sheet of vellum on top of one of your photos. Use the pointed end of a brad to make a small hole at the top center of your card. If you need extra help getting through the two layers of paper, use the pointed end of a sharp knife or a pair of scissors to make a small hole. Pry apart the tabs of the brad and flatten to secure.
That’s it! They seriously couldn’t be easier to make. Plus look how fun they are…
The information contained on this Website and the resources available for download through this website are for educational and informational purposes only. I am only sharing what worked for me, and as such, I cannot guarantee that any products or processes will give you the same results.



28 Comments
Leave your reply.