How I Use Mockups to Create Digital Product Photos
In this post, I want to show you how I use stock photos and mockups to create digital product photos in Canva.
You don’t have to use Canva if you don’t want to. But since Canva is template-based, it’s the best software I’ve found for creating photos quickly and for keeping my images looking uniform. It also has a drag-and-drop interface so I can simply drag my designs into the image and let Canva do the rest.
As someone who used to do this whole process in Adobe Photoshop, I can honestly say that Canva has made this part of my business 1000x easier.
But if you want to use other software, then go right ahead! This post will still walk you through the ins and outs of creating product photos from stock photo mockups.
Where to Find Stock Photos
Stock Photo Sites
This post lays out my top 5 favorite places to buy mockup images.
Canva Pro
If you’re just getting started, I recommend simply buying a Canva Pro membership (I have one and it’s worth every penny!)
There are tons of stock photos included with the membership, so you don’t need to purchase mockups individually. It also lets you save your designs as templates so you can re-use them again and again (or sell them as a separate digital product and make that extra $$$)
Lastly – and this the real kicker – the monthly plan is much cheaper than purchasing images individually from other sites, like Creative Market or Adobe Stock.
Create Your Own
Although buying photos is a great option for beginners, you don’t have to go the paid route if you don’t want to.
I take my own product photos roughly 99% of the time. Even though I’m a huge fan of custom photography, that doesn’t mean I shoot photos for every single one of my product listings. Usually, I’ll shoot 2-3 photos on either my DSLR camera or iPhone and use them over and over in my shop. Essentially, I create my own stock photo mockups that I own the rights to, that fit my brand, and that I can use as many times as I want.
However you choose to get stock photos – shooting your own photo mockups or buying them from a stock site – this post will show you how to use JPG and PNG photos to create your own produce images.
How I Use Stock Photos and Mockups to Create Digital Product Photos
Obviously you’ll need to have a Canva account – either free or paid – for this part. And if you purchased stock photos outside of Canva, make sure to have the hi-res images ready to upload.
Step 1 | Create Your Canvas
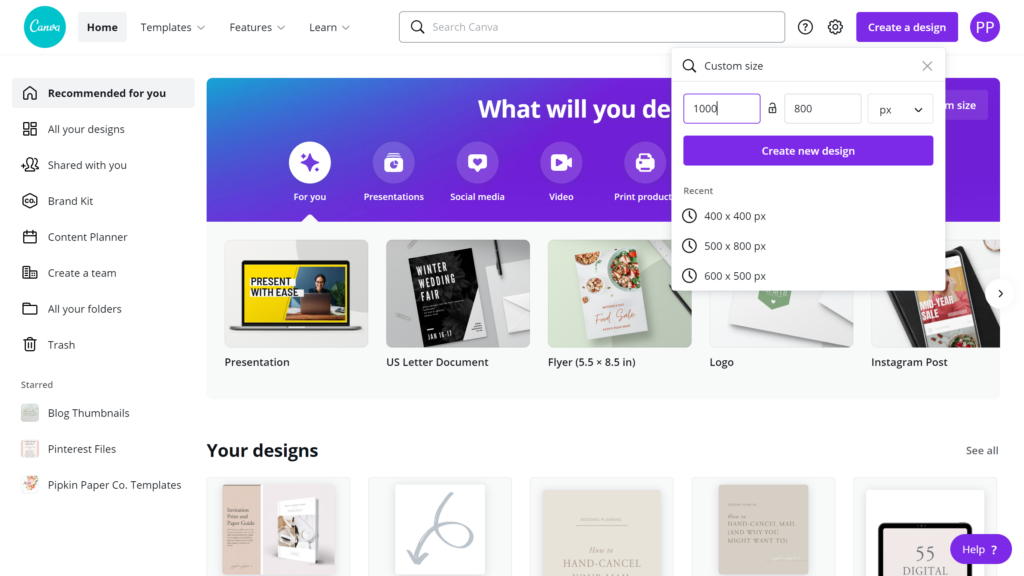
Before you get started, it helps if you have the ideal dimensions of the final image in mind. For instance, if you’re creating an Etsy listing photos, you want your canvas to be 1000 x 800 px. For a website banner, you might want it to be 1000 x 300 px. It just depends on where you plan to display the image.
If you’re not sure what the final image size should be, just do a Google search!
Go to Create a Design > Custom Size. Then type in your image dimensions and hit Create New Design.
Step 2 | Upload your Stock Photo
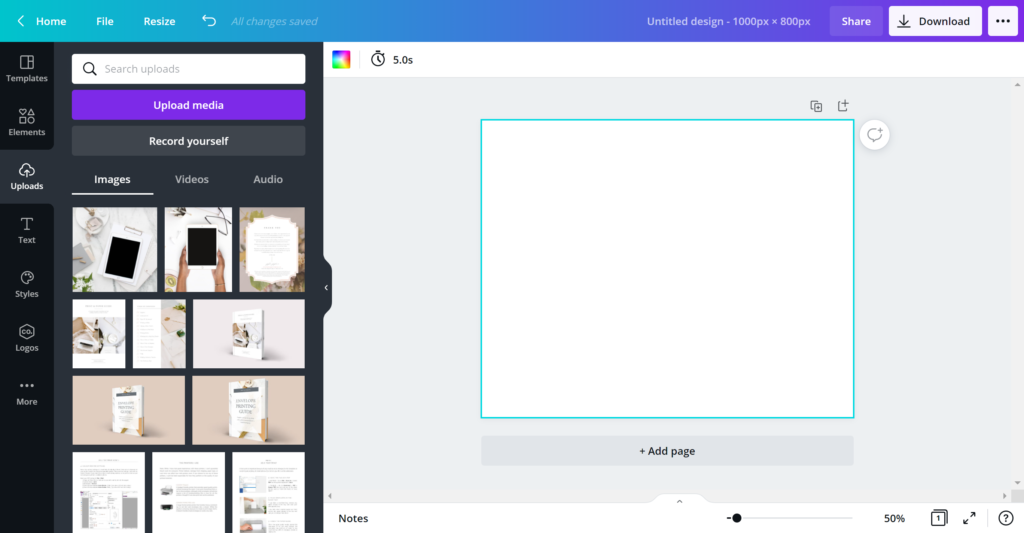
To upload a design, click Uploads on the left-hand side of the screen. Drag-and-drop your image into the uploads panel.
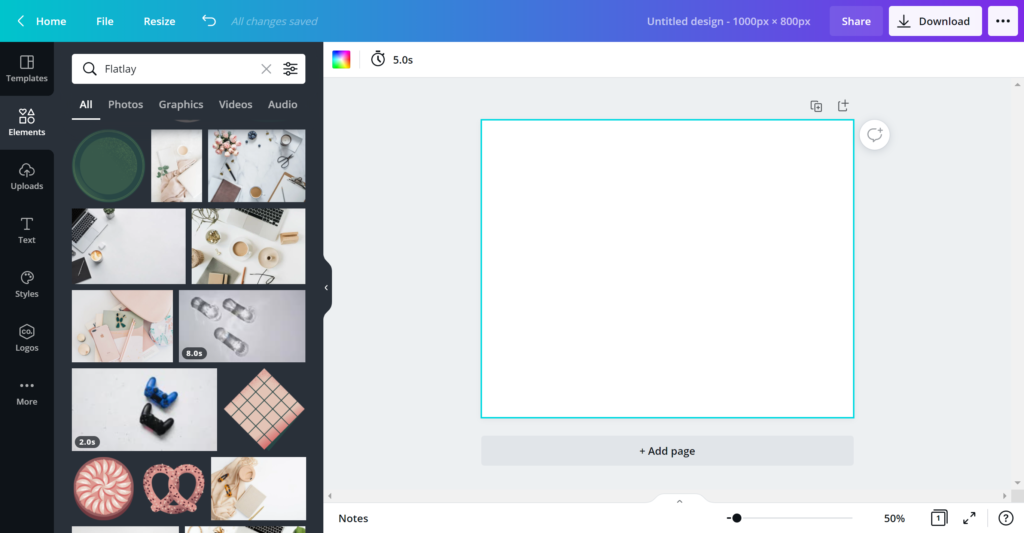
If you’d like to use one of Canva’s stock photos, click on Elements on the left-hand side of the screen. Scroll down to Photos and click See All. From there you can search for free mockups, flat lays, and screens into which you can insert or overlay your design.
Step 3 | Place the Stock Photo
Once you’ve either chosen or uploaded an image, drag-and-drop the image from the panel on the left onto the canvas. If you hover your mouse over the edge of the canvas while still holding the photo, it will automatically resize it to the fit the canvas once you release it.
Double click on the image to center it on your canvas.
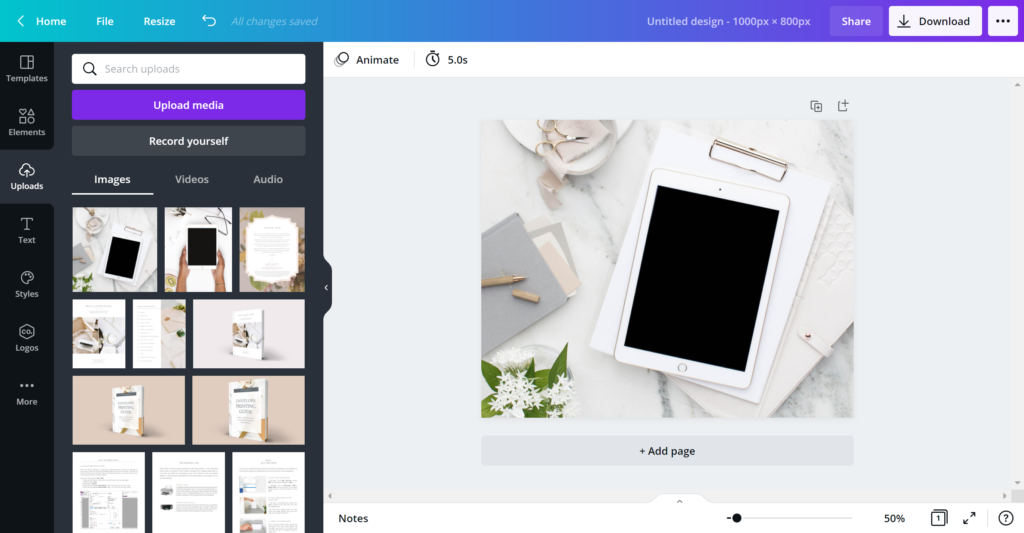
Step 4 | Add a Grid
In Canva, grids allow you to drag a design into the image itself. Upon releasing the design, it gets automatically resized to fit inside the grid, while everything outside the grid gets cut off.
Click on Elements and scroll down to where it says Grids. Click on the single grid once to place it on your canvas.
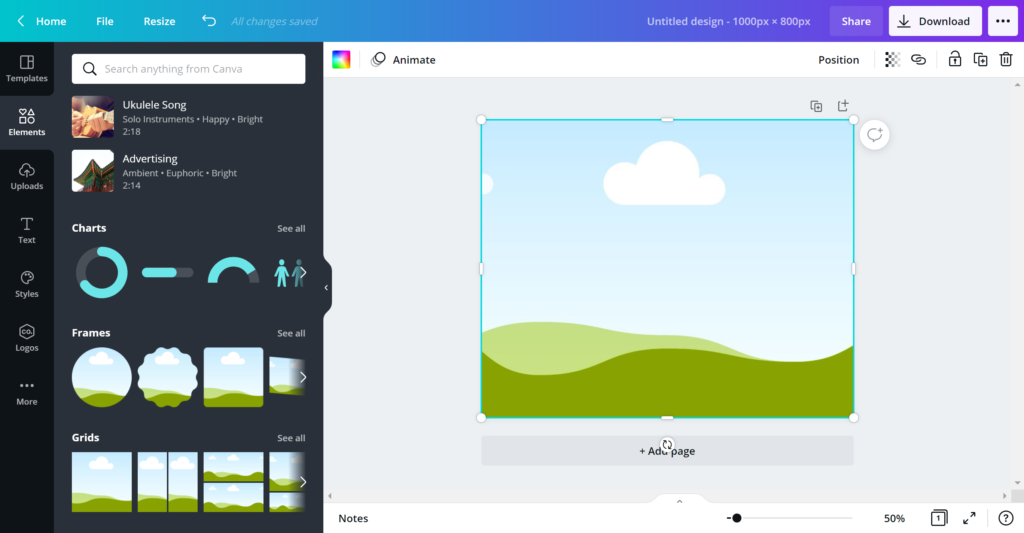
Drag and drop the handles to resize the grid until it’s roughly the size of the object where you’ll place your design. I’ll be placing my design on the iPad screen, so I made my grid roughly the size of the screen.
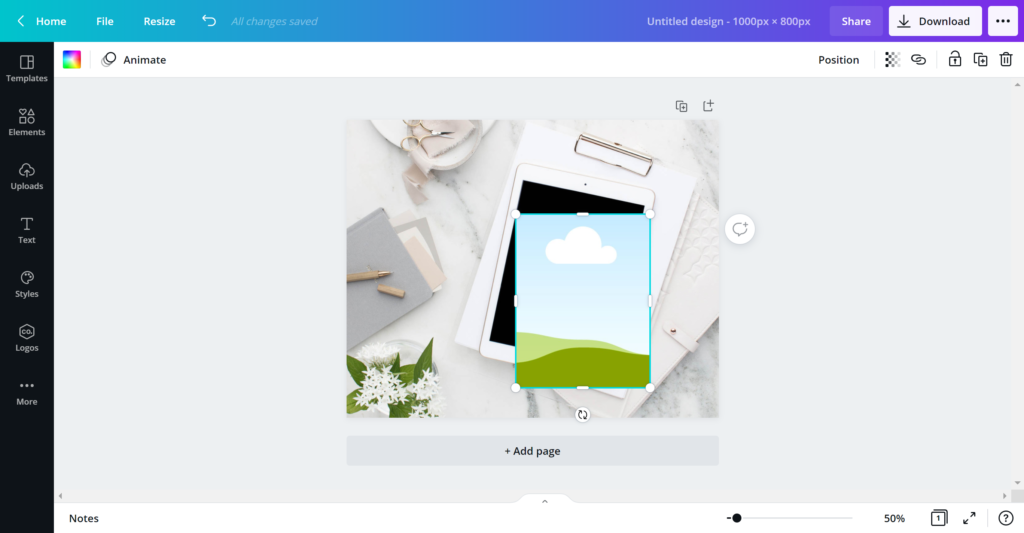
Now reposition the grid until fits the object. You can use the circular handle at the bottom of the grid to rotate it. And pull on the handles at the sides until the frame is the right size.
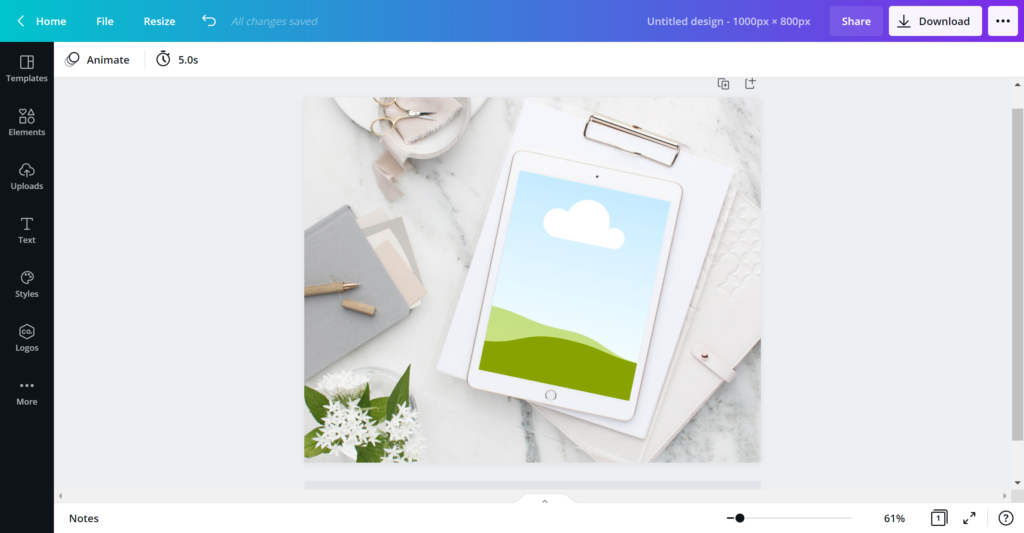
There you go! Now you essentially have a working template you can use for all of your digital product designs.
Step 5 | Insert Your Design
Upload your product design by dragging it into the Uploads panel.
Once uploaded, click on your design and drag it into the grid. It will automatically resize to fit the grid.
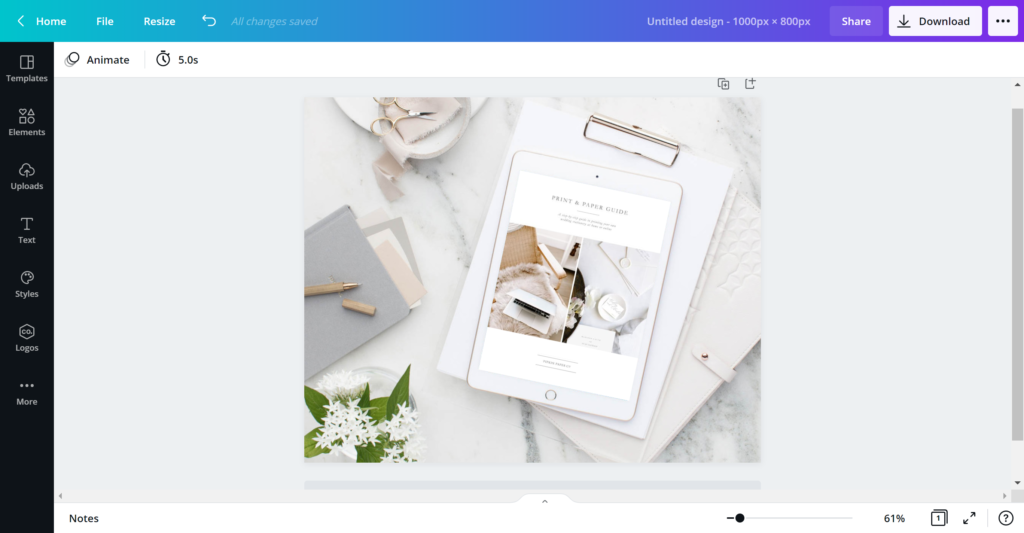
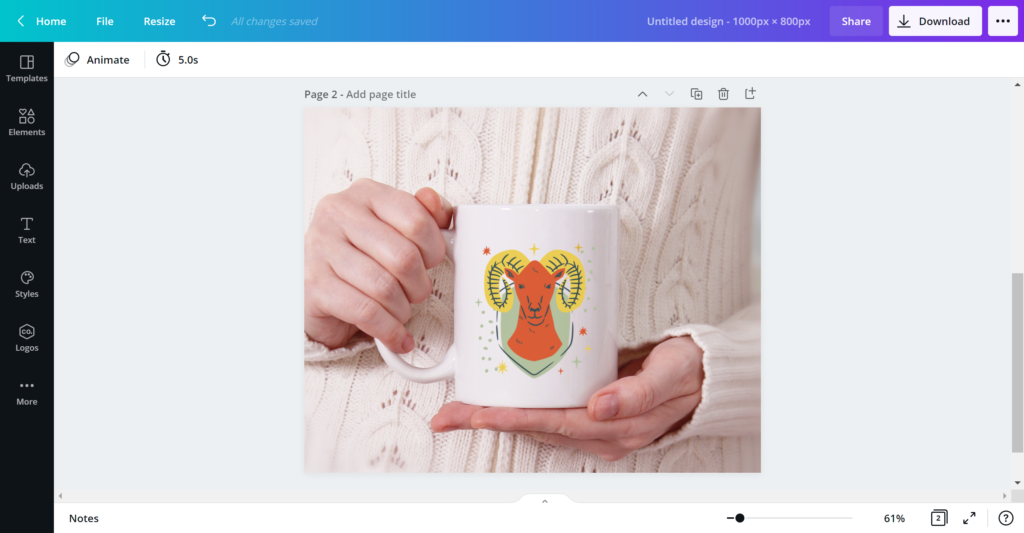
This doesn’t just work for flat lays or screens. You can use this same process to create 3-D design mockups, such as t-shirts, coffee mugs or any other 3-dimensional product (and Canva has a lot of free 3-D mockups to choose from.)
Make sure to upload your design as a PNG with a clear background. Then when you drag it into the grid, the grid background will be clear, leaving nothing but the design itself and whatever part of the photo is behind it showing, like so:
Step 6 | Save Your Image
When you’re done, simply go to Download and choose your file type from the list.
Although Canva recommends downloading as a PNG, I usually choose JPG because it’s a lower resolution, which means it won’t bog down my website or storefront. It also makes it harder for people to steal your images from the web and use them as their own product mockups.
That’s really it!
From here on out you can use this as a template for all your future products. I like to duplicate the page, rather than overwrite previous images. Then I’ll upload my design files in bulk and drag them into the frame. I can often create hundreds of images an hour that way, whereas before it used to take me a day using Adobe Photoshop.
Have questions about creating your own digital product photos? Let me know in the comments and I’ll help you out!
The information contained on this Website and the resources available for download through this website are for educational and informational purposes only. I am only sharing what worked for me, and as such, I cannot guarantee that any products or processes will give you the same results.



Leave a Reply
We don't like getting spam either. Your email is safe with us.